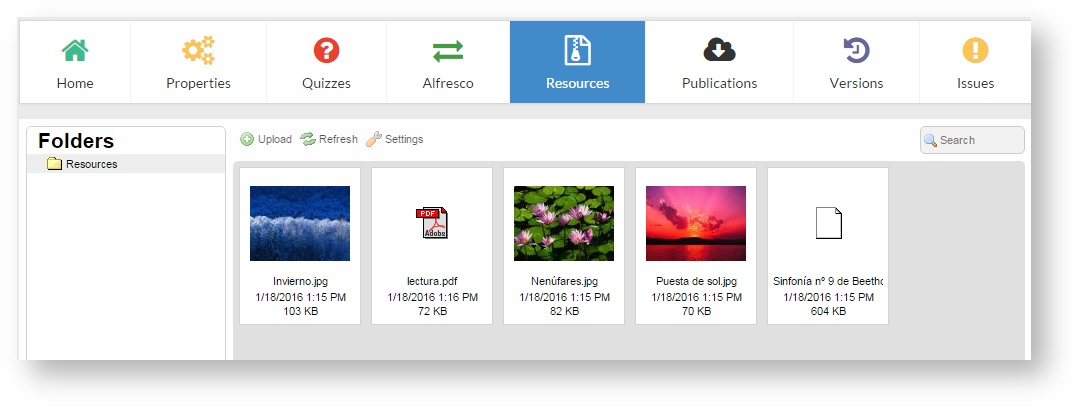
The resources are the files (images, videos, documents) included in a project. Click on "Resources" to access the list.
It is important to upload only the files needed to edit a unit. However, although there are unnecessary files is not a problem. When a project is published, the publication includes only the files that actually are used in the project, that is, they are linked to a project component. The resources that have not been linked are kept in learningMaker. In this way, we avoid that a project published has a size heavier than necessary and keeps files that are not used.
...
To add one or more resources to a project, drag them to the window or click on "Upload".
Remember Some browsers do not behave correctly when the name of the file contains some of these elements. |
...
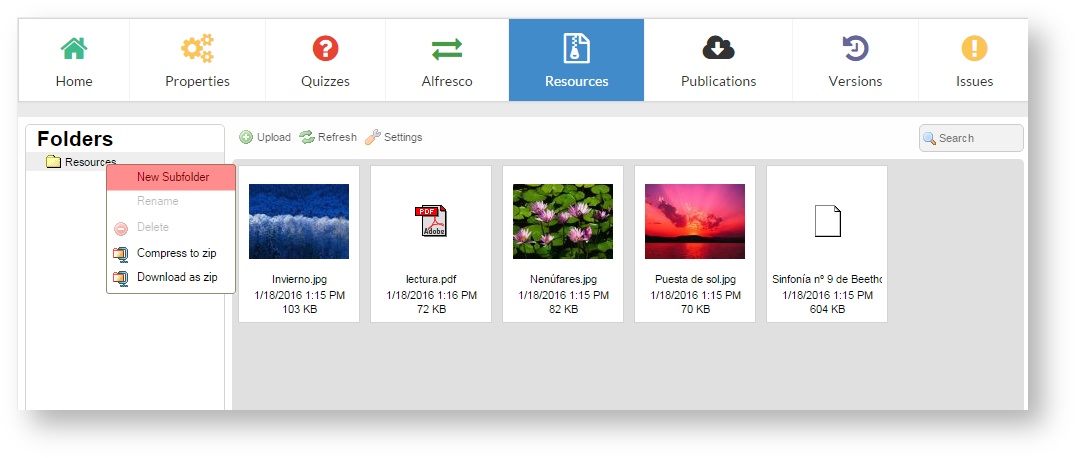
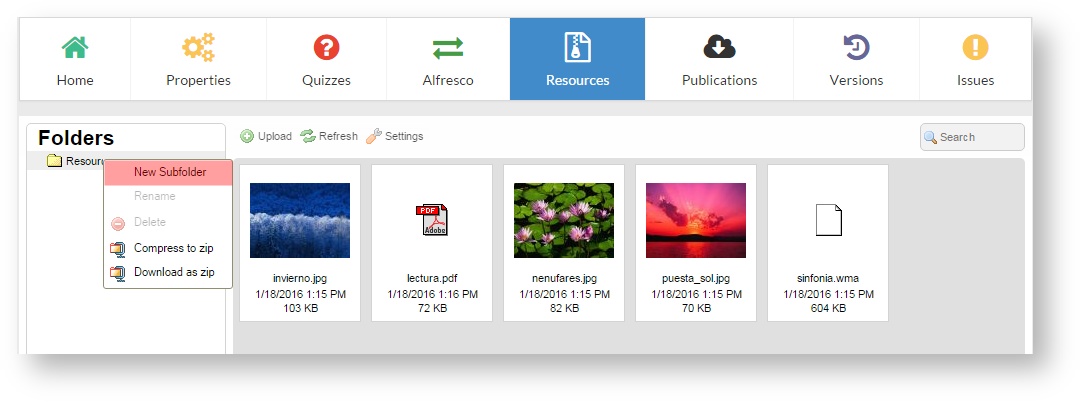
Right-click on "Resources" folder and click on "New subfolder" to create a new storage space.
Searching for resources
| Anchor | ||||
|---|---|---|---|---|
|
...
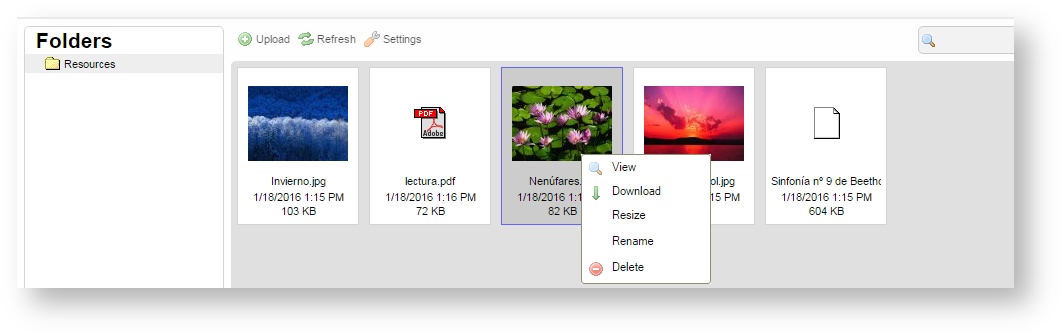
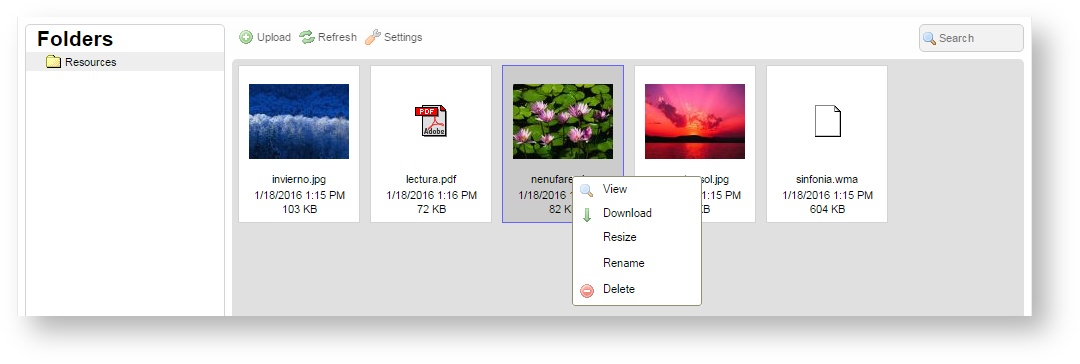
To rename a resource, right-click on the resource and select "Rename". Then, enter the new name and click on "Save". It may be useful in case a resource has incorrect characters or blank spaces.
Deleting resources
| Anchor | ||||
|---|---|---|---|---|
|
Right-click on a resource and select "Delete". Resources must be deleted one by one, several resources at the same time cannot be deleted.