FAQ: How to use Classroom-based training.
This document gathers all the information about Classroom inside our Central LMS and tries to provide a full picture about this feature.
Let's start.
1st Part - How to create Classroom activities.
Logged as an administrator, in our LMS you can select Administrator menu and inside Training > Activities by clicking in Create activity you will see this menu.
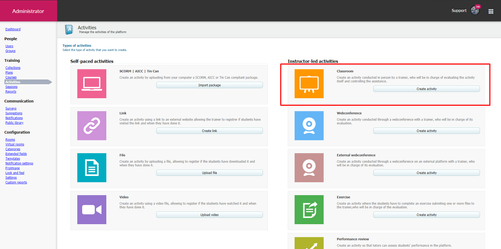
The first Instructor-led Activity is Classroom
REMEMBER
All Instructor-led Activities does not have the feature to create their own sessions automatically, it means, an Admin or Tutor must to create their activities manually in the portal, a Trainer role does not have permission to create sessions.
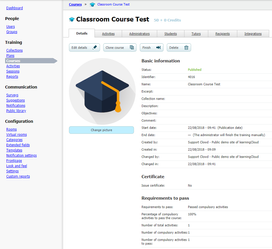
We select Create Activity button an will see this window.
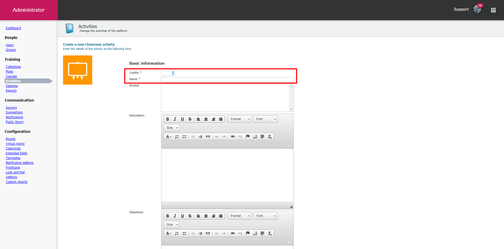
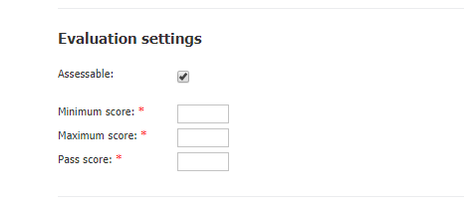
Classroom activities have only two mandatory fields are Credits and Name, you also have the opportunity to set the passing, max and min score.These Credits remain with the activity, but inside the Course we have the chance to modify this info as you can see here.
Once we have all this info set up properly fulfilled our Activity will be published and we can move forward to Course Creation.

When we click on Create course you will see the window in the next picture.
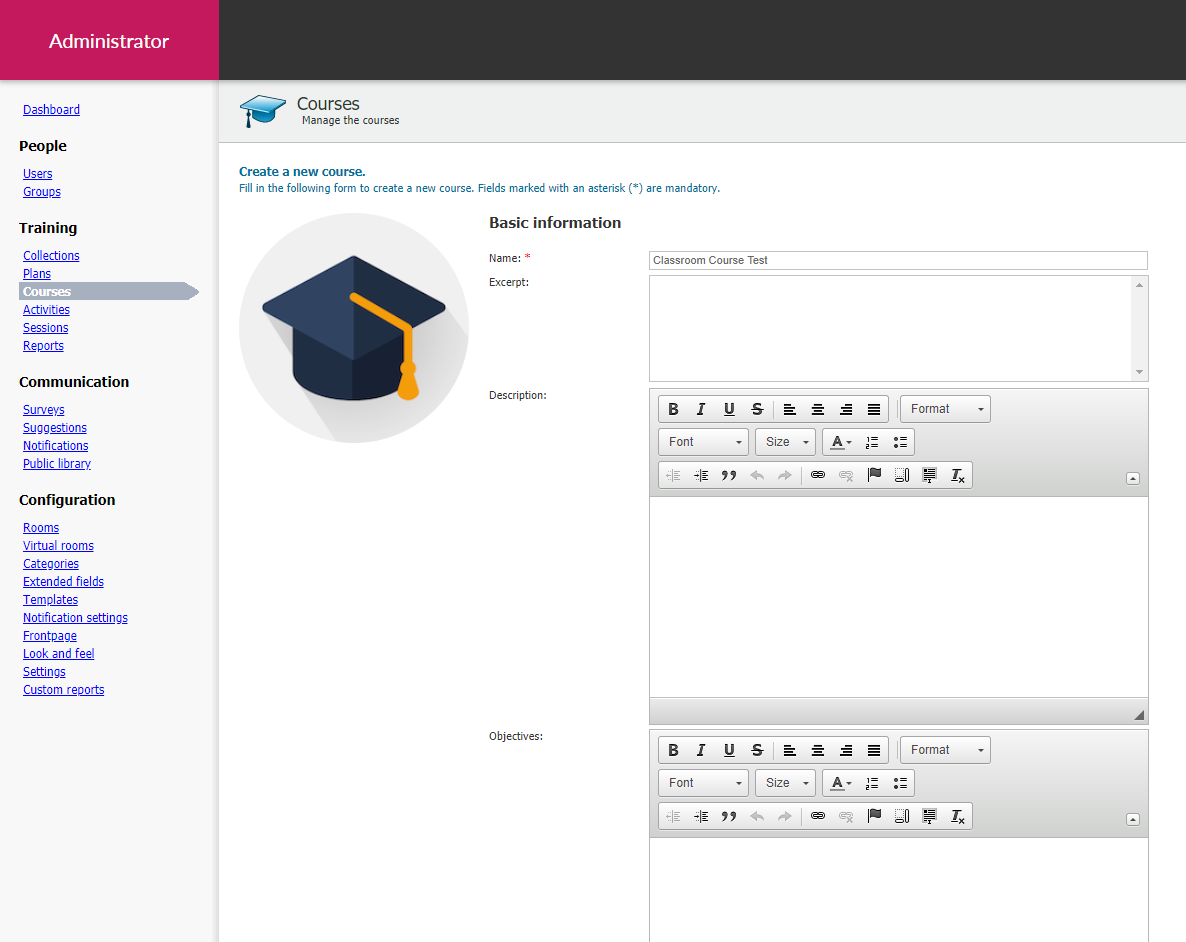
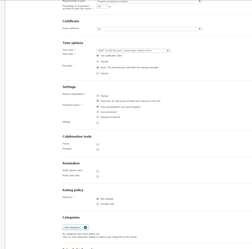
We need to provide the course information that you can check in this link.
REMEMBER
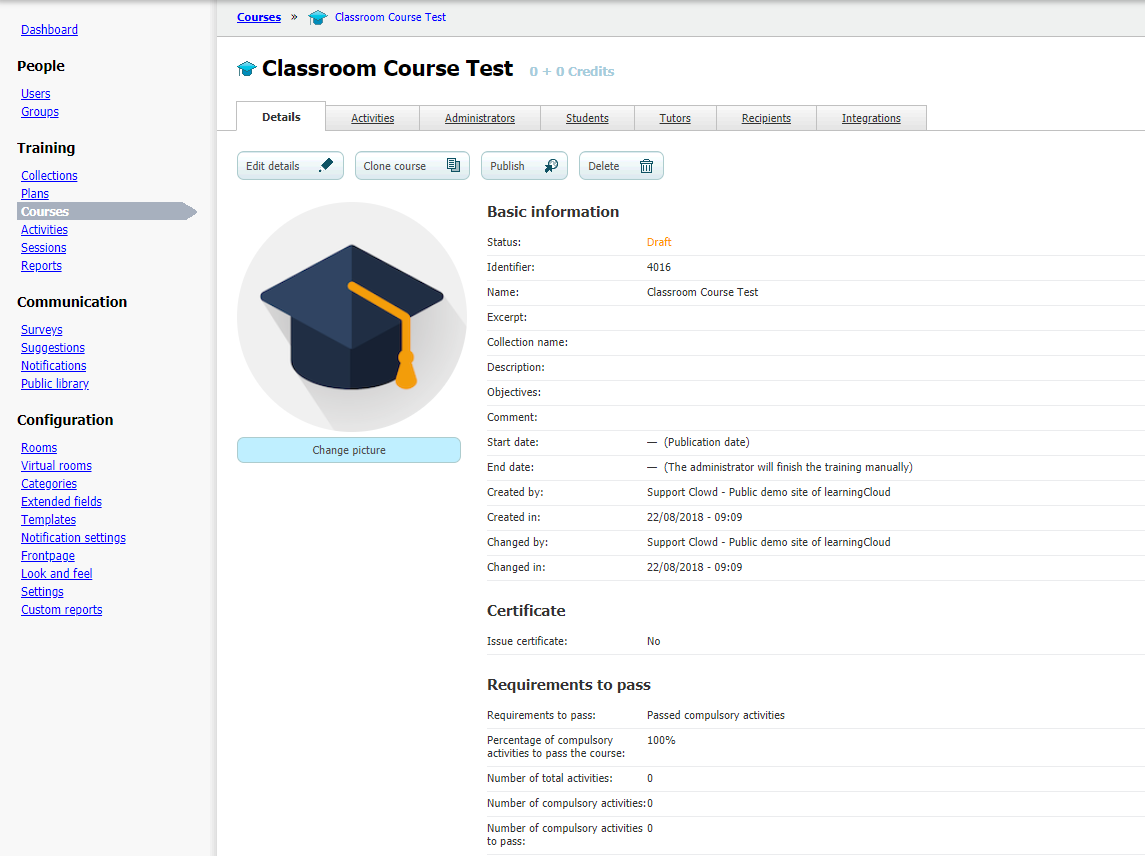
While the course is in Draft mode you cannot be able to create any sessions inside, you also need to have a Classroom activity attached.
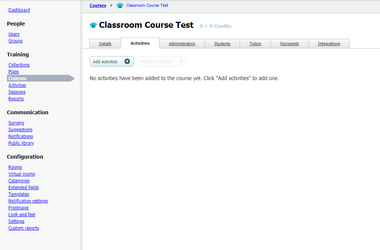
You need to add our Classroom activity after, more info in this link.
Now, we have a Published Course with a Classroom activity and we can add Students following this link and add Tutors following this other link.
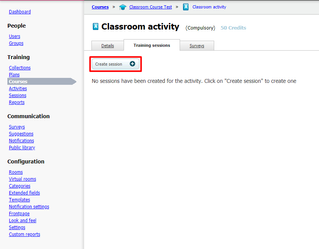
Once the Course is Published we will be able to go to Activities Tab and by clicking activity name, you can edit activity details, and also on the Training Session Tab you'll be able to Create sessions.
2nd Part - How to schedule and set up the sessions.
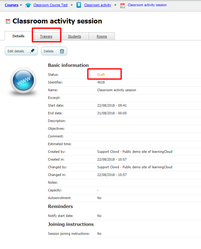
Finally, we are able to set up our brand new session details.
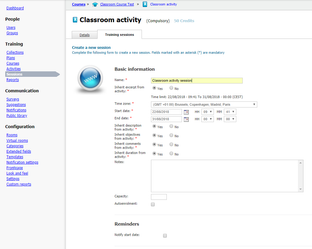
The mandatory fields are:
- Name → Session name.
- Inherit excerpt from activity → We are able to change previous excerpt.
- Time zone → Will be useful for training's Scheduled in different countries.
- Start Date.
- End Date.
- Inherit description from activity.
- Inherit objectives from activity.
- Inherit comments from activity.
- Inherit duration from activity → Duration is the time we presume the student will take to perform the session.
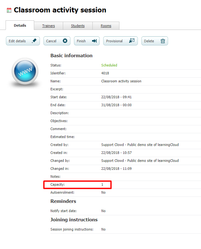
Not mandatory fields:
- Capacity → Classroom seating capacity.
- Auto-enrolment → Will be able for any student to enrol. In case you mark this box and student enrolment overpass classroom seating capacity, Admin, Tutors and Trainer can manage what students will attend.
- Notify start date → Will notify all enrolled students when the session starts.
- Session joining instructions → More info in this FAQ.
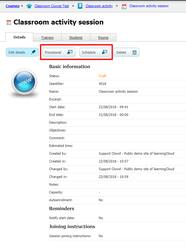
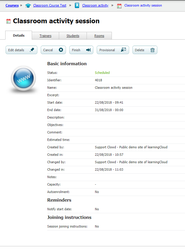
To Publish our Session we can do it as Provisional or Schedule. Further info here.
We can also add as many Tutors as we need. You can check this document.

A Trainer is the person that provides this particular training, who provides the lecture. He also can download the signed sheet and reserve rooms as you can see here.
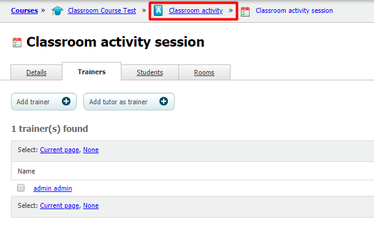
REMEMBER
A Trainer can only check student assistance, reserve rooms and check who surpassed the activity, a Tutor can modify all this data and also finish a Session for any Classroom activity present in a Course, but cannot create Sessions. Only Admins can create everything.
It's important to remember in case you have limited seats for a classroom you can create a Waiting list for this activity.
3rd Part - How a trainer might take attendance, leave feedback etc.
A Trainer and a Tutor acting as a Trainer and an Admin user can manage a Classroom training session.
In the previous link you can check the full process for a Trainer inside a session.
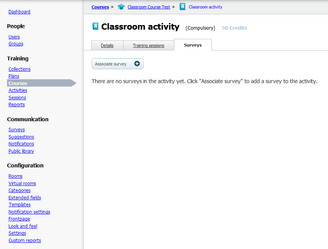
One more thing... The Classroom activity allows you to add a survey to ask about students satisfaction, more info here.