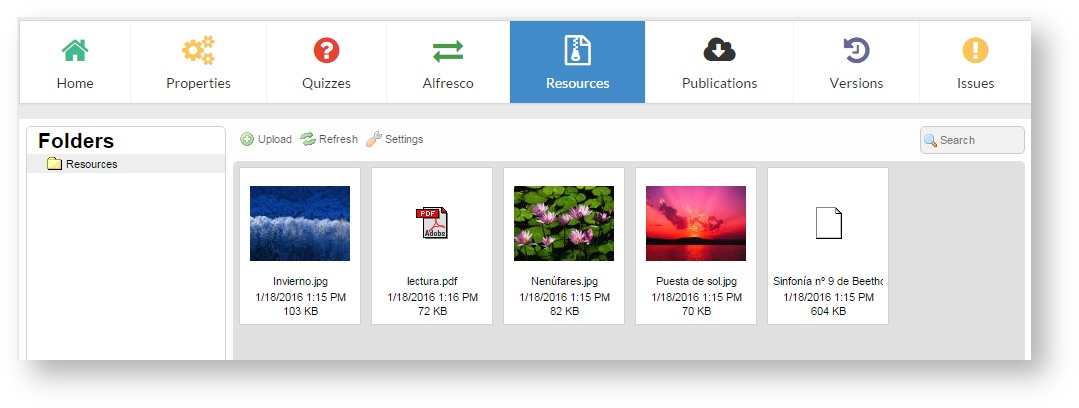
The resources are the files (images, videos, documents) included in a project. Click on "Resources" to access the list.
It is important to upload only the files needed to edit a unit. However, although there are unnecessary files is not a problem. When a project is published, the publication includes only the files that actually are used in the project, that is, they are linked to a project component. The resources that have not been linked are kept in learningMaker. In this way, we avoid that a project published has a size heavier than necessary and keeps files that are not used.
On this screen you can:
Adding new resources
To add one or more resources to a project, drag them to the window or click on "Upload".
Remember Some browsers do not behave correctly when the name of the file contains some of these elements. |
Sorting resouces by folders
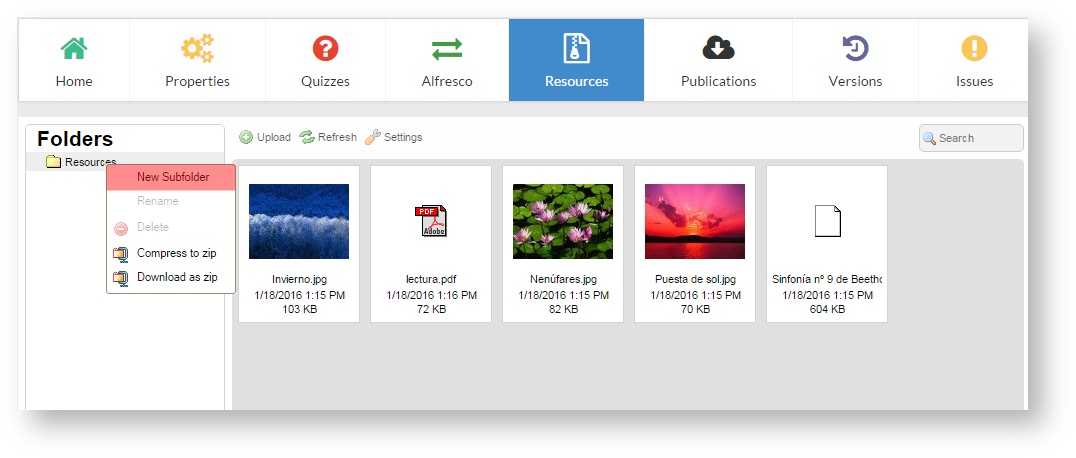
To keep the project resources sorted, we can create a folder to store them (for example, a folder for images, another for videos...).
Right-click on "Resources" folder and click on "New subfolder" to create a new storage space.
Searching for resources
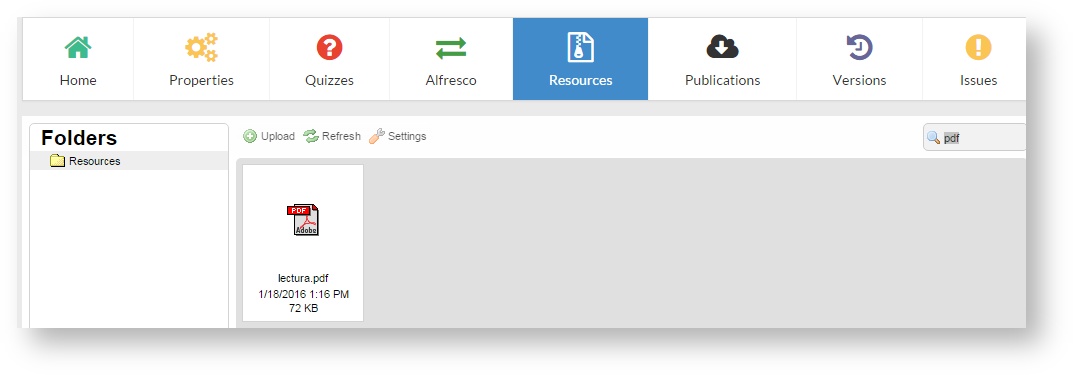
The search engine on this screen allows locating a resource by its name or its extension. It is very useful to filter files by its extension ( for example, to display mp3 files or pdf files).
Deleting resources
Right-click on a resource and select "Delete". Resources must be deleted one by one, several resources at the same time cannot be deleted.


