Platform configuration
- Netex Sistemas
In the Configuration area, there are several sections where you can set defaults and preferences for formal training. Let's see each of them.
Rooms
The rooms are the spaces destined to provide classroom training. You have to register the available rooms in the platform in order to have the possibility of assigning them to each classroom session.
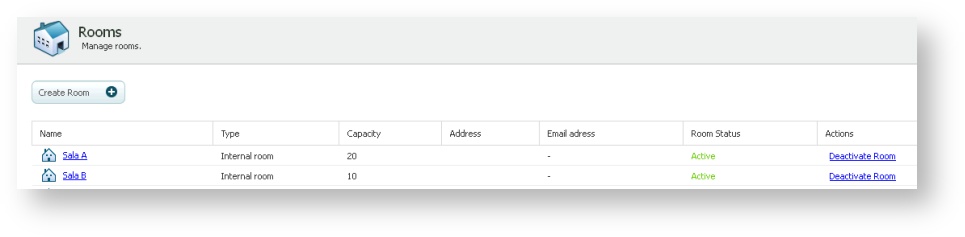
To create a room:
- Go to "Rooms".
- Click on "Create Room".
- Complete the data and click on "Create".
To deactivate a room (it remains registered in the platform but it cannot be used) or to delete it, you can proceed in two ways:
- Go to "Rooms".
- Display the "Actions" column and select one of them.
Or,
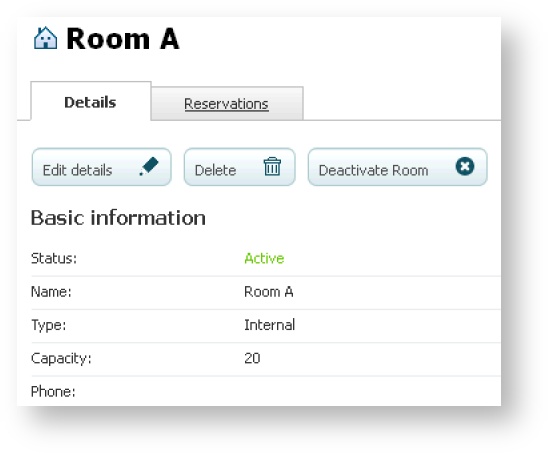
- Go to "Rooms".
- Select a room.
- Click on "Delete" or "Deactivate Room".
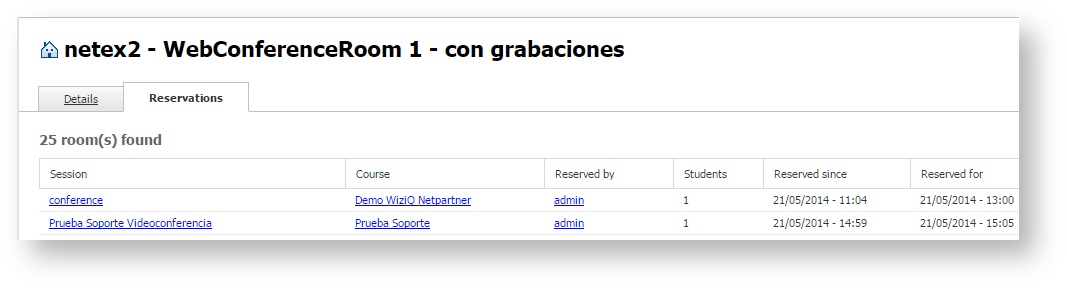
You can also see and manage the reservations of the room from this page.
- Go to "Rooms".
- Select a room.
- Select the "Reservation" tab. You can see the sessions which have reserved the room from this tab and, if you want so, you can delete the reservation by clicking on "Delete" within "Actions".
Virtual rooms
Virtual classrooms are the online spaces where Webconference sessions take place. These rooms are created in the platform by default. As an administrator you can deactivate the room so that nobody can reserve it. The virtual classroom is not deleted and you can activate it later.
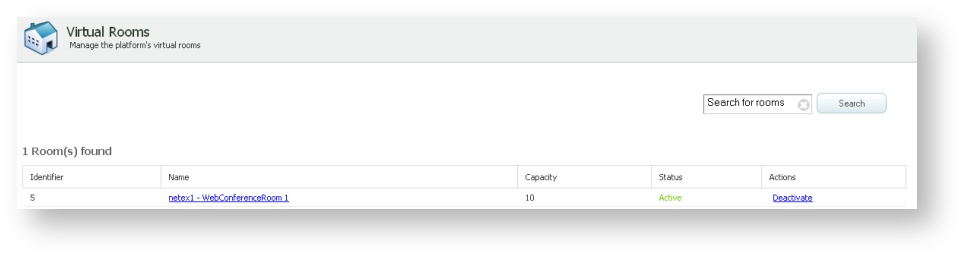
- Go to "Virtual rooms".
- Click on "Deactivate" on the line of the room that you want to make inactive. Click on "Activate" so that an inactive room may be used again.
You can perform the same process from the details page of a room:
- Go to "Virtual rooms" and click on the name of a room.
- Click on the "Activate" / "Deactivate" button.
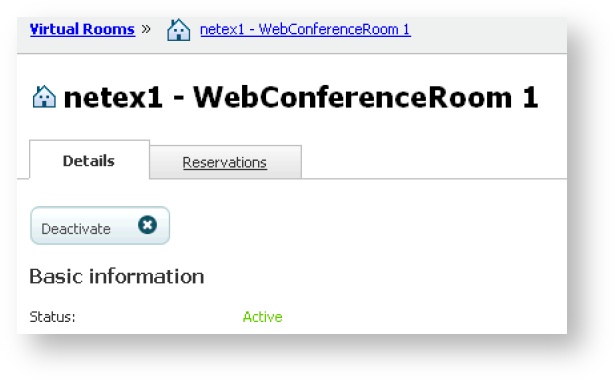
You can see the reservations of a virtual classroom from this page. You just have to go to the "Reservations" tab.
Categories
As the platform is filled with activities, it gets more difficult to find the one we want to edit, to add a course, etc. The categories allow you to classify the elements of the platform according to your discretion in order to locate them easily.
- Go to "Categories".
- Select "Create Category".
- Complete the data and click on "Create".
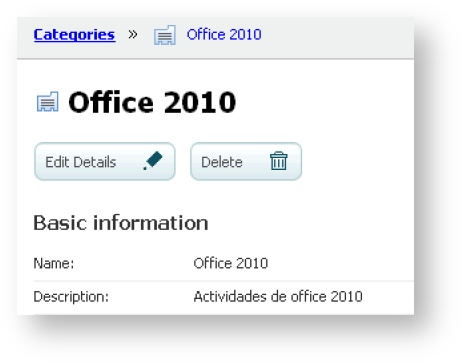
To delete a category:
- Go to "Categories".
- Click on "Delete" on the line of the category you want to delete.

Or,
- Go to "Categories" and select one of them.
- Click on "Delete".
These categories can be translated, this way, students can do searches on the catalogue in their language.
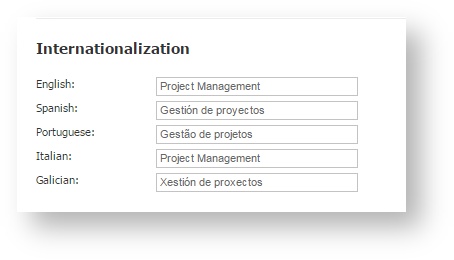
To do this you simply need to complete the internationalisation fields, translating the name of the category into the languages we will use.
Extended fields
Other component focused on the customisation of the platform is the extended fields.
For example, you can create the field Seniority in the company and associate it with User. See how to do it:
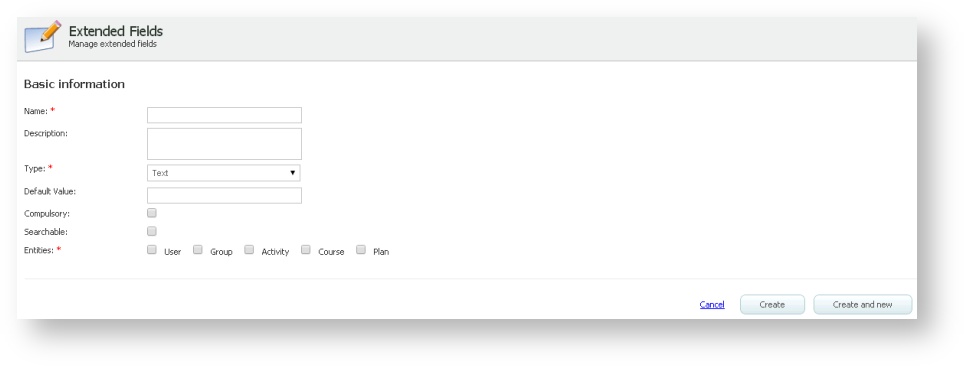
- Go to "Extended fields".
- Click on "Create extended field".
- Complete the fields.
- In "Type" you have to mark if you want the field to be completed with a text, a dropdown menu, a number or to check.
- Mark the field "Compulsory" if you want this field to be necessarily completed.
- Mark the field "Searchable" if you want this field to appear in the advanced searcher as a parameter to delimit the search.
- In "Entities" choose the items of the platform that are going to be used in this field.
- Click on "Create".
To delete an extended field:
- Go to "Extended fields".
- Click on "Delete" on the line of the field you want to delete.
To edit a field already created:
- Go to "Extended fields" and select one of them.
- Click on "Edit details".
- Modify the fields and select "Save changes".
Templates
In this area we can easily create specific templates for the training certificates and to modify the access instructions for sessions.
Certificate template
You can create new, personalized templates that include your own designs and text, and you can configure versions in multiple languages for each template.
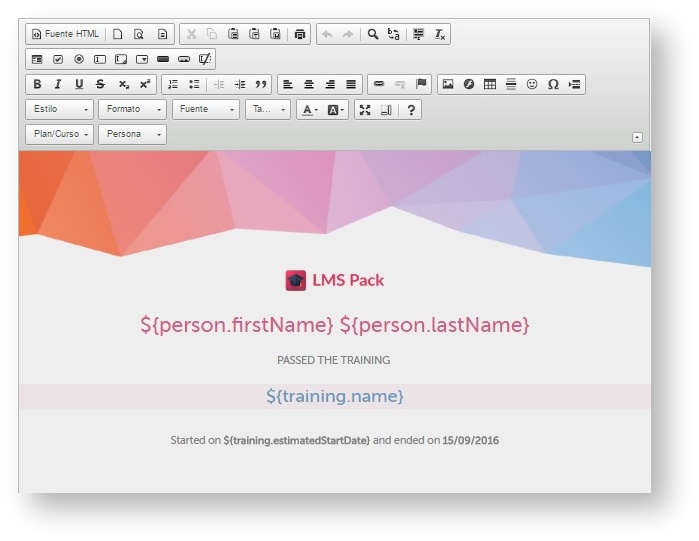
You can fully customize the text including variables and you can add a background image. You can also decide if you would like to include a business logo.
Joining instructions template
To create an access instruction template, follow these steps:
- Go to "Templates".
- Click on "Joining instructions".
- Select the template you want to generate.
- Click on "Edit".
- Use the template editor to generate the template you want.
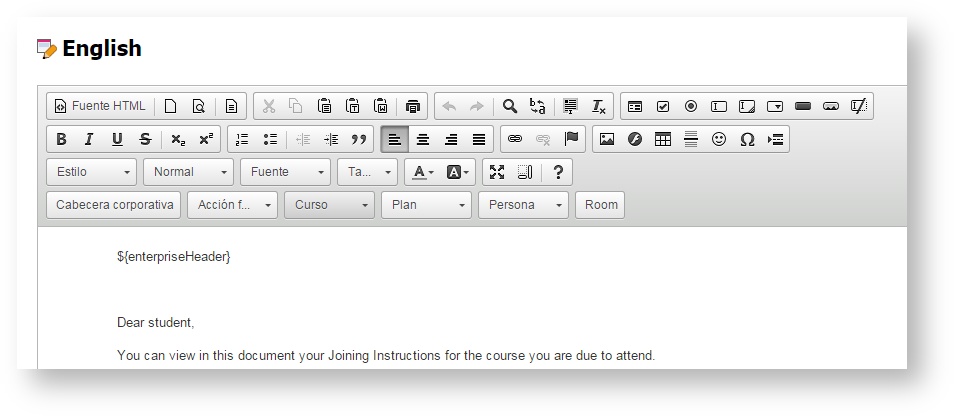
The template editor allows using learningCentral variables as corporate header, values as room, session, course, plan and person.
The use of instructions must be enabled in /wiki/spaces/ML/pages/4489946.
Notifications
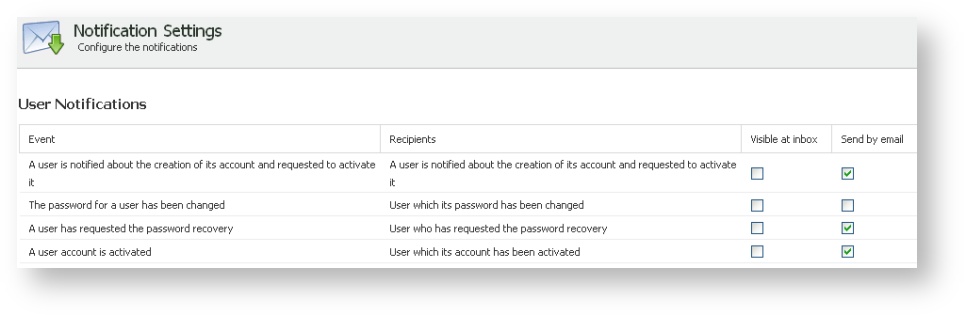
Notifications are the reminders or messages of the application you receive. You will receive each notification in the notifications mailbox of the platform and/or in your e-mail address.
You can set the notifications that you want to receive in your notifications mailbox or in your e-mail address.
To do so:
- Go to "Notification settings", on the "Configuration" section.
- Click on "Edit Settings".
- Check on the right of each notification the option "Visible at inbox" or "Send by email" depending on how you want to receive the notification.
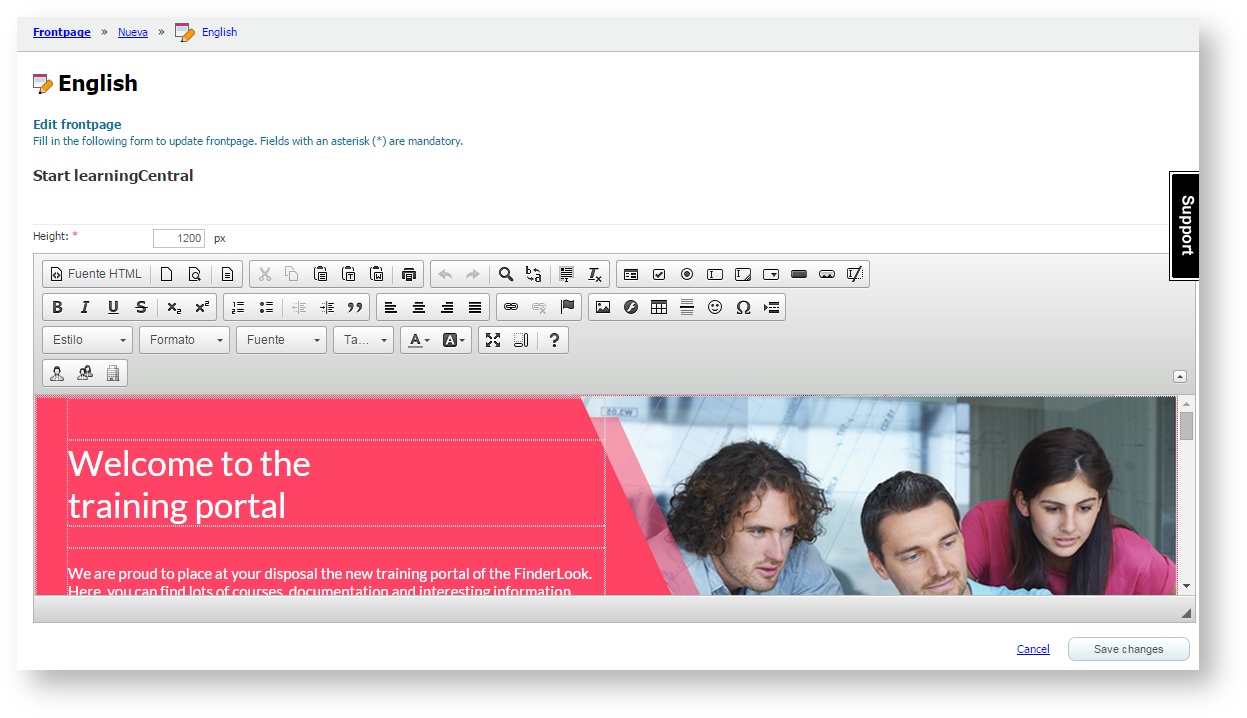
Changing the user interface
LMS Pack allows modifying the frontpage of the student and trainer interface. Thereby, we can create a frontpage where we can highlight the activities, courses, news from the company, etc. that we want to show the users.
We can configure a frontpage by clicking on the frontpage name and by selecting Edit details.
You can create different content depending on the user language on the platform.
- Go to "Frontpage".
- Click on the name of the language in which you want to create the frontpage.
- Click on "Edit".
- Use the content editor to insert the new frontpage. You can even edit it in other tool and introduce the HTML code directly by clicking on
 .
. - Save the changes.
- Click on "Enable" so that the student can see this new frontpage instead of the one set by default.
The editor has three interactive fields which give the student the sensation of having a customised tool only for him or her (consult /wiki/spaces/ML/pages/4915218).
Remember |
If you want to go back to the frontpage set by default anytime, go to "Editing block" and click on "Disable".
Look&feel
From "Look and feel" section, we can set multiple elements to change the appearance .
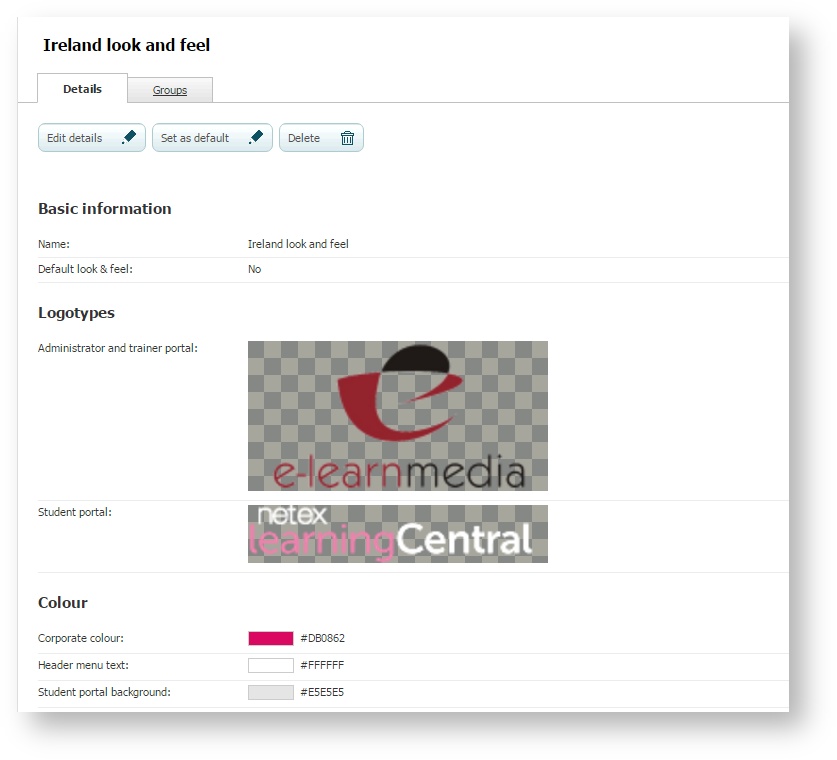
We can select different logotypes. Also a corporate colour, a header menu text colour and a student portal background colour can be selected.
Changing the settings
You can customise the platform with the logos and colours of your company. In addition, you can choose if you want the notifications sent to your user e-mail (besides the platform internal mailbox).
In this section you can also modify the time zone set by default in the platform. This time zone will be the reference that the platform has when establishing any time, for example, when creating a session, as long as it is not indicated otherwise in that moment. Each user can modify the time zone in which he or she wants to see the profile data when editing the user profile.
Imagine we configure the time by default in GMT +1h (Madrid, Paris). In Lisbon, the time zone can be set on the profile by the user in order to have the times shown in the Portuguese time zone.
You can obtain web analytics related by indicating your Google Analytics account on this screen.
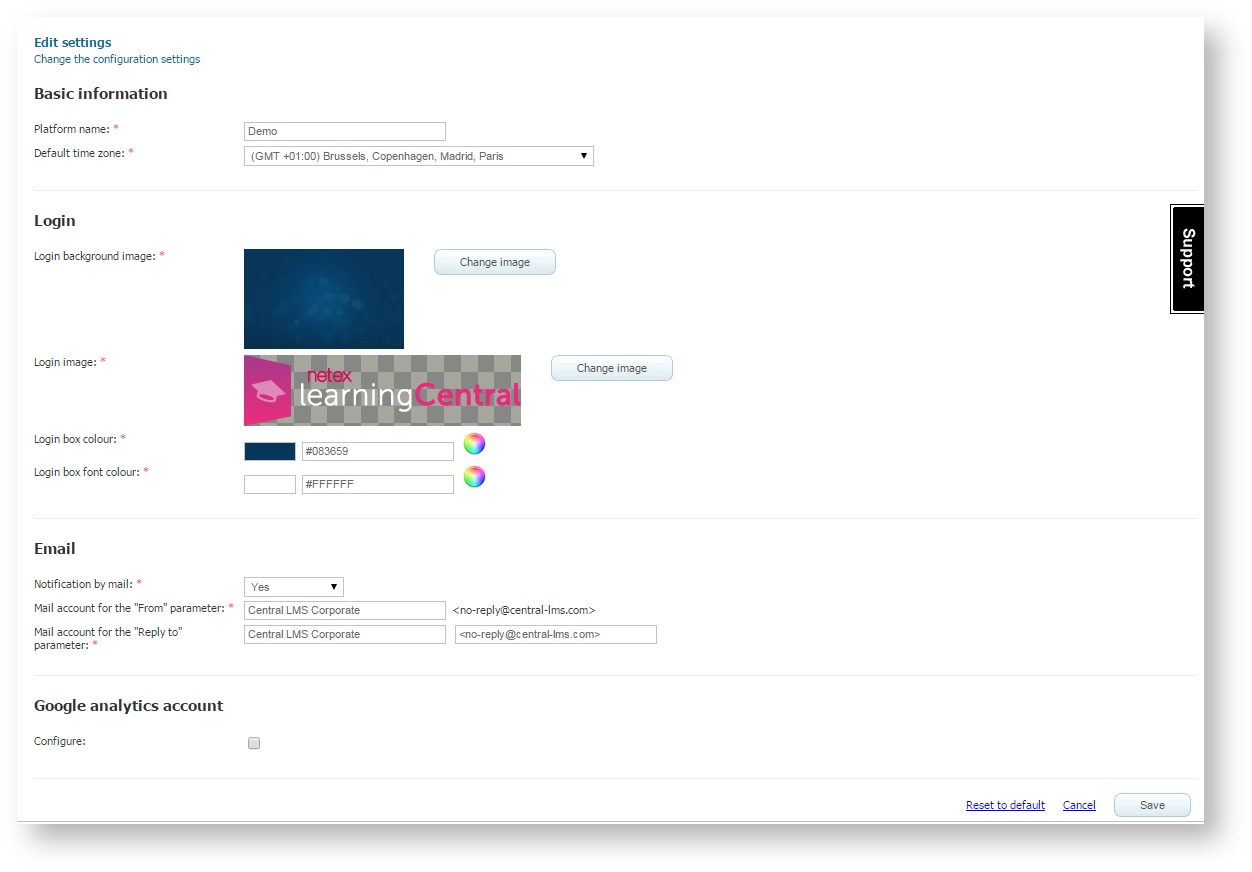
- Go to "Settings".
- Click on "Edit Settings".
- Modify the data and upload the images you want to substitute.
- Save the changes.
- If you want to go back to the original image of the platform, click on "Reset to Default".