Student Calendar
- Netex Sistemas
Highlights include
- There is a personal calendar of events for which the student is registered.
- There is a global calendar, with all the events available in the company that the student can sign up for.
- There is a monthly, weekly, daily, and calendar view
- You can filter by the type of event (face-to-face, virtual, online activity), and by the location of the event.
- When you click on an event, it shows me more information. It allows me to go to the related course and register.
Description
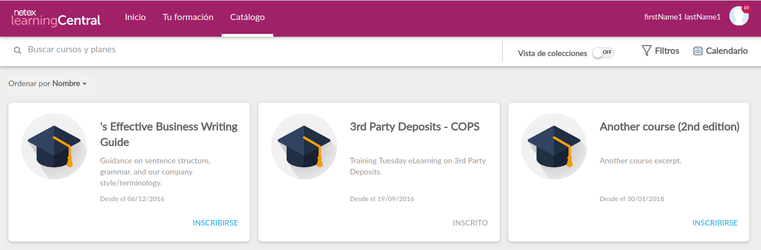
From the student interface, Catalogue, the student has access to the Calendar. To do this, click on the "Calendar" button in the upper right-hand corner.
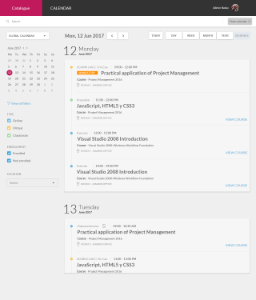
Doing so, will display the calendar view. In this case the weekly.
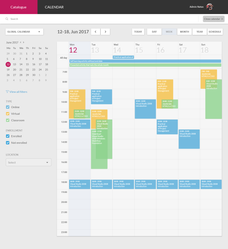
We see two sections, the left one that allows us to filter the information and the right one that shows the events in a calendar in which the student can see the events according to the following views
Daily
Weekly

Monthly
Agenda
To change the view the user can press the corresponding button:

To advance within the view, previous/next day, previous/next week, previous/next month the user can press the buttons shown below:
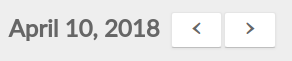
At any time you can go to the current day by pressing

Apply filters
In the left section we can first select the type of events we want to see:
- There is a personal calendar of events in which the student is enrolled.
- There is a global calendar, with all the events available in the company for which the student can register.
You can then filter them by events:
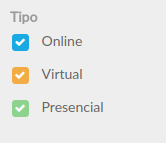
Type, depending on the type of event we can filter the events in:
- Online (training actions of the following types are shown: Scorm|Tincan, Link, File and Video), virtual and face-to-face.
- Virtual: The following training actions are shown: Videoconference, External Videoconference, Exercise and Performance Evaluation.
- Face-to-face: Training actions of the Face-to-face type are shown.
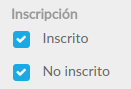
Registration, this filter will show the events according to whether the student is registered or not.
Location, finally we can filter the events according to the location where they are given, both by physical rooms and virtual rooms that are registered in the platform.
As we apply filters the events that meet the criteria will be displayed in the right section.
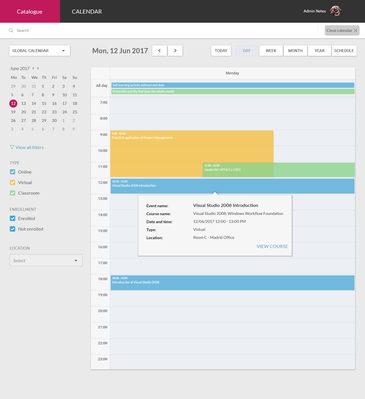
In turn, the student can click on the events that appear in the right section to see more information about them. This information is displayed in a pop-up window. From this window you can also open the event and register if you wish to do so (and are not already registered).
Let's see an example
The student selects the global calendar, on January 12, 2016, the events in which he or she is registered and the agenda view. The events shown in the right section are as follows:

This view shows all the available information about the event and can also be accessed by clicking on view course.
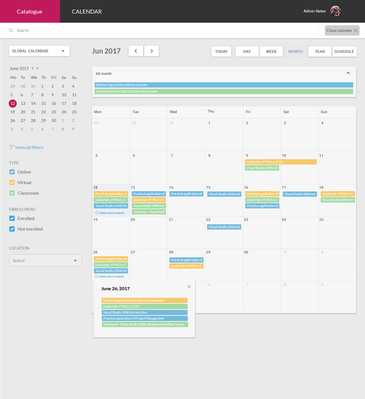
Another example
We select in the global calendar, on April 29th, online events in which the student is registered. You can see that there are 17 events, in which the student is enrolled and that last all day (note that the header, before the first hour of the day, refers to events that last all day). If you want to see the rest, you have to click on the text "+13 more", this way the information will be shown in a list like the one below.
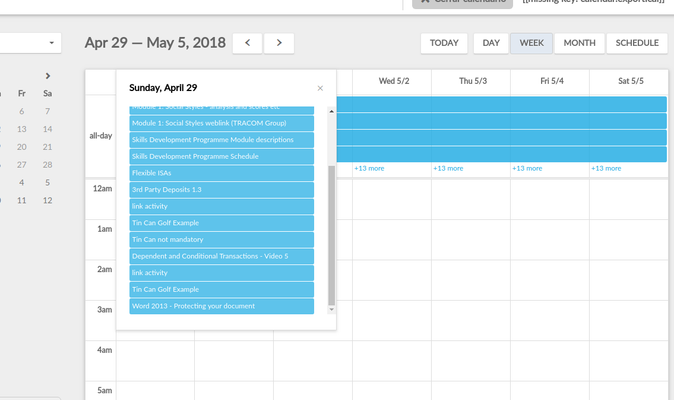
Also, if you click on an event it will show a popup with information related to the event.
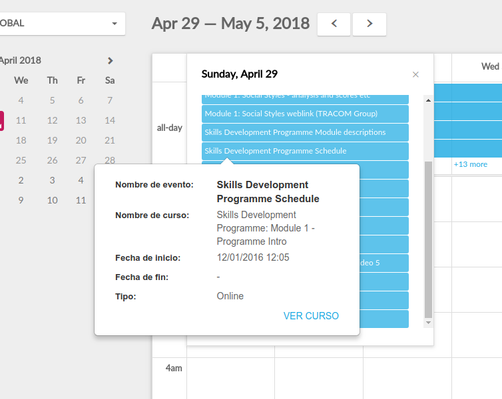
Clicking VIEW COURSE will display the course, which will allow the student to register if desired.
Summary
The calendar allows students to organize themselves better by allowing them to see at a glance those events for which they are registered or available for registration.
Related content