Creating a course
To create a course in LMS Pack:
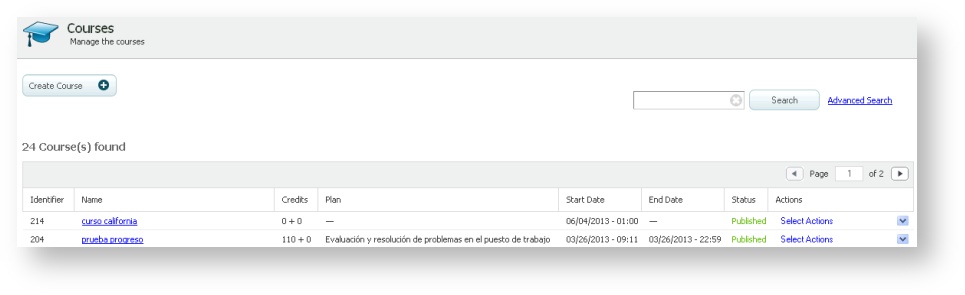
- Go to "Courses".
- Click on "Create Course".
- Complete the form. Remember that the fields marked with an asterisk are mandatory.
- Click on "Create".
Remember |
When creating a course in LMS Pack, we can:
- Set dates
- Set an enrolment policy
- Organise a session
- Issue a certificate
- Enable a forum
- Enable messages option
- Add categories
Date options
You have to indicate the active period of a course when creating it.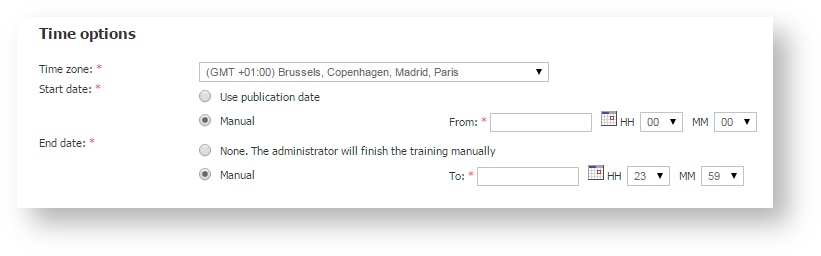
These are the available options:
You can select the "Time zone" that corresponds with the dates of start and end of the course. The time zone you have established on your user profile will be selected from the combo box by default. For example, if you are an administrator in Madrid (GMT +1) and you are going to create a course for an office located in India, this option allows the configuration of the time zone of the course with the time of New Delhi (GMT +5:30). This way, you can set the start of the course for 10 a.m. in India, without having to calculate what time it is then in Madrid.
- "Start date". You can choose the start date and time or indicate that you want it to coincide with the publication of the course.
- "End date". You can choose the end date and time of the course or indicate that the course does not end until the administrator does it manually (consult Finishing a course(learningCloud) to see how to end a course).
Enrolment policy
Enrolment policy sets the way students can access a course.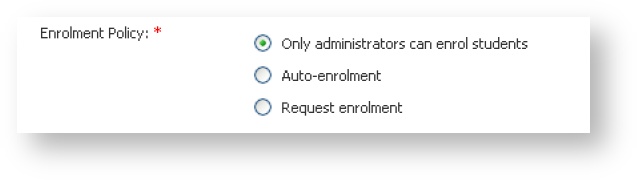
Students can access a course by means of three types of enrolment policy:
- You can choose that "Only administrators can enrol students". If you enrol a student in a course, the student will receive a notification.
- Another option is the "Auto-enrolment" course, what means that the student has the possibility of seeing the course on the training catalogue and can automatically enrol in it. In this case, the student will only enrol in the self-paced activities of the course.
- If you select the option "Request enrolment", the student will see the course on the catalogue and may request his or her enrolment. In this process the trainer of the course will receive a notification with the enrolment request. The student will subsequently receive another notification indicating if the request has been accepted or rejected. Furthermore, the student will receive a notification if the enrolment policy changes and the request will remain revoked. Besides, you will have to set the period when the enrolment can be requested (you can mark "Inherit from course" on the end date, meaning that it coincides with the course end date). In any case, if you modify the enrolment policy after the course has been created, the trainer or trainers of the course will receive a notification.
Session Organisation
When creating a course you have to choose how the sessions will be scheduled. LMS Pack offers you two possibilities:
- If you choose "Manual", you will have to schedule one by one the sessions for each activity (to see how to schedule a session, go to Scheduling a session).
- If you select "Automatic for self-paced activities…", you will only have to schedule manually the sessions for instructor-led activities (Classroom, Web conference or Exercise activities). Self-paced activities (SCORM/AICC/Tin Can, SCORM Assessment, Link or File activities) will be automatically scheduled when publishing the course, taking as a reference the parameters of the course (students for whom it is destined, dates of performance and enrolment format).
Issue Certificate
When creating the course, you can select the option that the student may receive a certificate at the end of it. You have to mark "Yes" on the "Issue Certificate" dropdown menu.
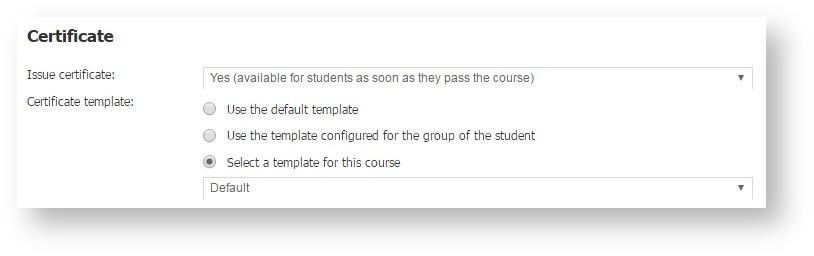
Then you can select the template to use, between the following:
- Use the default template. The default template that is selected in Templates in the Configuration área.
- Use the template configured for the group of the student. The student group template is set up in Groups in the People área.
- Select a template for this course. You will select between the existing templates.
It is also possible to add a specific text for each course with more information (content, schedules etc) to be included in a second page to be printed as the back cover of the certificate.

Once the student finishes the course, he will be notified that there is a certificate available to be downloaded.
Forum
The platform also offers the option of creating a forum when creating a course. This tool facilitates the communication between administrator, trainers and students, and the resolution of doubts about the course.
You just have to mark "Forum" when creating the course or when editing its details (see Editing the details of a course).
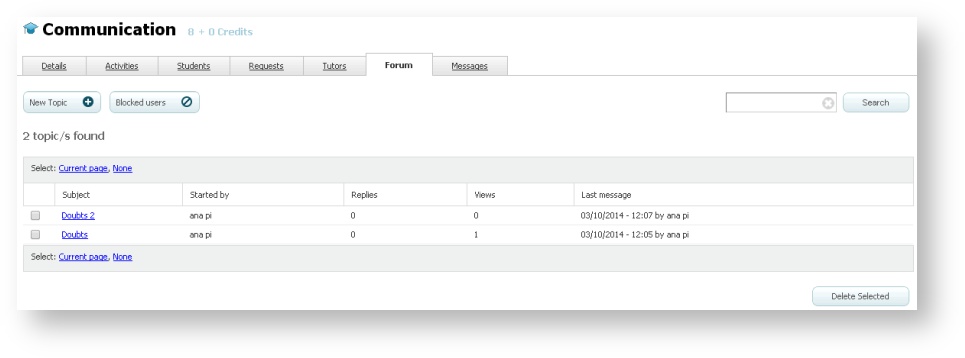
Once the course has been created follow these steps to see the forum:
- Go to "Courses" and select one.
- Select the "Forum" tab. You will see its homepage and the list of topics.
The forum works the same as any other forum. You can add topics by clicking on "New topic" or delete topics by marking them and clicking on "Delete selected". You can also see the blocked users by clicking on "Blocked Users".
If you click on a topic, you access the discussion of the topic. You can comment from the screen using the text box.

There are other options which are performed from the discussion of the topics. Administrators, tutors and trainers can edit their own posts –"Edit post"– and delete posts from other users –"Delete post"–.
In addition, it is possible to block a user if you do not want them to access the content of the forum for some reason. You just have to click on "Block user" in one of their posts.
Messages
At the time of creating the course, in addition to the forum, you have the possibility to mark the option of message, which allows participants and administrators of the course to exchange messages.
- Administrators may send messages to all the participants in the course, no matter what their profile (tutors, trainers and students) is.
- Tutors may send messages to other tutors, trainers and students of the course.
- Trainers may only send messages to the students of the course.
- As for students, they may send messages to trainers and tutors of the course, but not to other students.
In order to have this option in a course, you have to mark it at the time of creating it or to edit it.
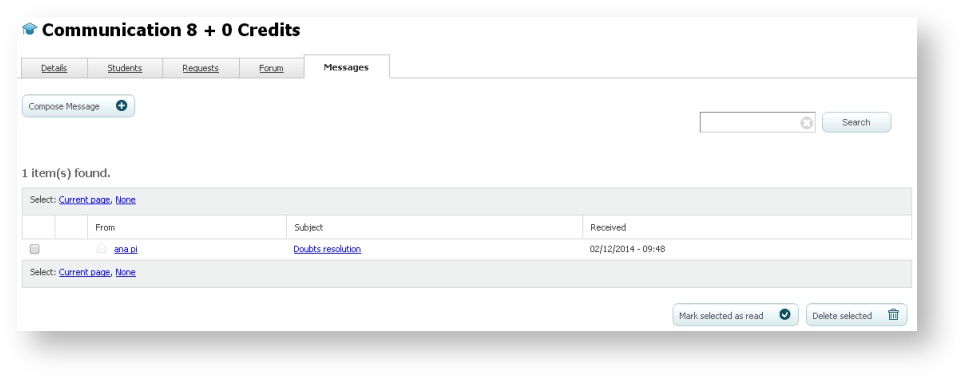
Once created, the course follows these steps to see and to send messages:
- Go to "Courses" and select one of them.
- Click on the "Messages" tab. You will see the list of messages which you sent and the ones sent by other users. The answers to the message will appear grouped.
Categories
You can add one or several categories to a course to make it easier to locate it afterwards by using the advanced search.
This process is similar to the association of categories to the activities, so we invite you to consult Associating categories to an activity (learningCloud) to see how to add or delete a category.