/
FAQ: How to configure webconferences (admin)
FAQ: How to configure webconferences (admin)
There are two types of webconference activities in LMS Pack: Webconference and External webconference. The difference between both types of activities consist in the provider available for each case.
Webconference activities are performed in LMS Pack virtual rooms and External Webconference by means of any provider that allows to perform webconferences, for example GoToMeeting, Webex or Google Hangouts.
Configuring a session with webconference
To configure a session with webconference, a Webconference activity must be created and added to a course. To do this, we have to perform the following steps:
- Click on "Activities" in "Training" menu and click on "Create activity".
- Select Webconference from Instructor-led activities and click on "Create activity".
- Fill in the fields and click on "Create".
- Once the Webconference activity has been created, add it to a course. Publish the course and go to "Sessions" tab in the activity.
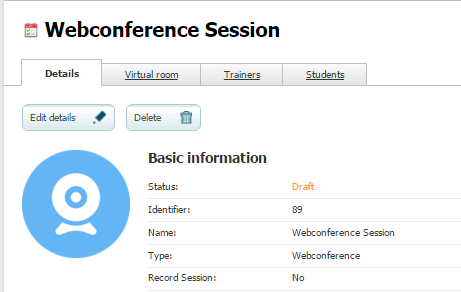
- Click on "Create session", fill in the fields and click on "Create".
- This session requires a virtual room to be performed. Go to "Virtual room" tab and click on "Select room" (virtual rooms will be enabled on-demand).
- Select one of the available virtual rooms and click on "Select room".
- Add the trainer and enrol the students that will attend the training. Schedule the session from "Details" tab.
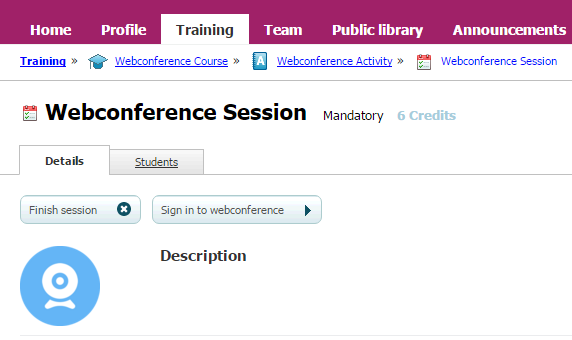
- Once the session has been scheduled, the trainer can launch the webconference from the trainer portal by clicking on "Sign in to webconference". A window with a selected provider's virtual room will be displayed.
- Now, the students can join the webconference by clicking on "Join".
Configuring a session with external webconference
To configure a session with external webconference, an External webconference activity must be created and added to a course. To do this, we have to perform the following steps:
- Click on "Activities" in "Training" menu and click on "Create activity".
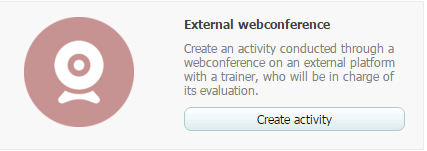
- Select External webconference from Instructor-led activities and click on "Create activity".
- Fill in the fields and click on "Create".
- Once the External webconference activity has been created, add it to a course. Publish the course and go to "Sessions" tab in the activity.
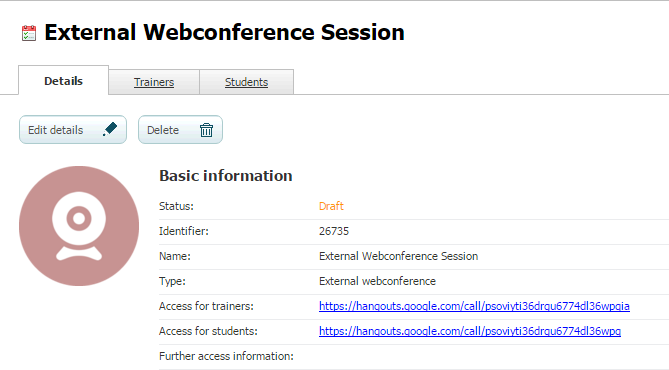
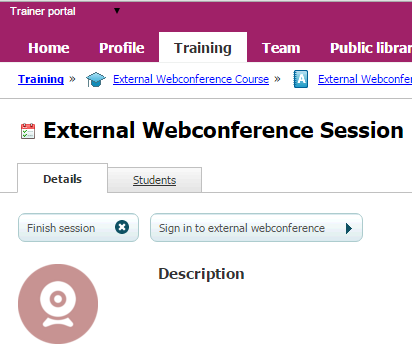
- Click on "Create session" and fill in the fields. Moderator access link and Student access link fields must be filled with access links. These links are supplied by the webconference provider, for example Google Hangouts.
- Add the trainer and enrol the students that will attend the training. Schedule the session from "Details" tab.
- Once the session has been scheduled, the trainer can launch the webconference from the trainer portal by clicking on "Sign in to webconference". A window with a selected provider's virtual room will be displayed.
- Now, the students can join the webconference by clicking on "Join".
, multiple selections available,
Related content
FAQ: Use of Activities, Training Sessions, Courses, Plans and Collections.
FAQ: Use of Activities, Training Sessions, Courses, Plans and Collections.
Read with this
Management of a Web conference session (learningCloud)
Management of a Web conference session (learningCloud)
More like this
Assigning a trainer for a session
Assigning a trainer for a session
More like this
Enrolling in a classroom session (learningCloud)
Enrolling in a classroom session (learningCloud)
More like this
Creating an activity
Creating an activity
More like this
Exporting and Importing Sessions
Exporting and Importing Sessions
More like this


