/
4.1 Creating a project
4.1 Creating a project
- Netex Sistemas
Owned by Netex Sistemas
Last updated: Feb 12, 2016
By default, users cannot create projects on the frontpage or homepage of learningMaker.
Projects only can be created in folders with the corresponding permissions.
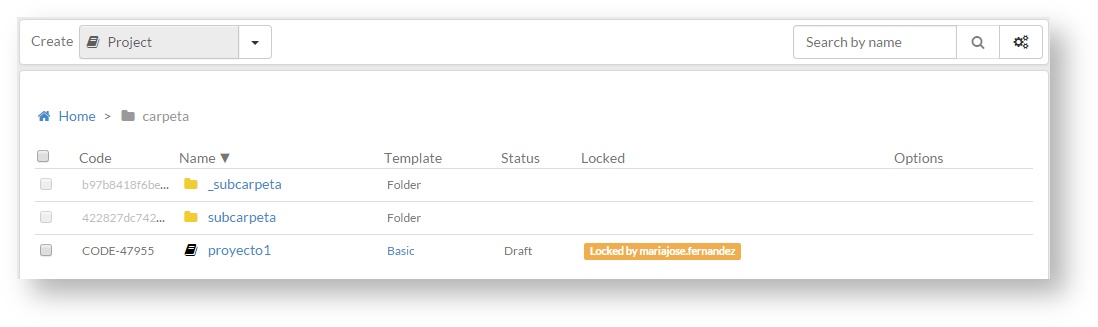
- Go to "Create" and click on "Project".
- Fill in "Name", "Language" and "Template" fields on the form.

- The "Template" used will be the design by default. It includes background colours, where the texts are located, images, etc. We can find the template in the list or write its name to filter better and find it quickly. By selecting the template, we can see below its characteristics. If there is a template guide, we can access it.
- The "Language" field indicates the default language of the template button panel (fordward, backward, menu...). If you want your project is available in several languages, you can include a new language later (see section 4.7).
- The "Code" field is optional. A custom code or a project ID can be added. If nothing is indicated, learningMaker assigns a code to the project automatically.
3. Click on "Create" to create a project and access directly its properties, or click on "Create and continue" to create more projects.
, multiple selections available,
Related content
4.5 Previewing a project
4.5 Previewing a project
More like this
4.7 Configuring the language of a project
4.7 Configuring the language of a project
More like this
4.6 Reviewing and commenting a project
4.6 Reviewing and commenting a project
More like this
6. Projects report (admin)
6. Projects report (admin)
More like this
8. Importing/exporting a project (author)
8. Importing/exporting a project (author)
More like this
What's new and frequently asked questions on learningMaker 4.2.2.0
What's new and frequently asked questions on learningMaker 4.2.2.0
More like this